
This blog post will help you set up an Arlo Q Plus security camera in your home to ensure the security of your loved ones. The instructions provided ahead are for the Arlo Q Plus camera setup using the Arlo Secure app experience with Library. Let’s begin without any further delay.
Arlo Q Plus Camera Setup Steps
If you have not installed the Arlo Secure app yet, then head to the respective Application Store on your phone to download and install the app first. You will need to access the Arlo login page on the app to configure your camera. As soon as the app installs, follow the steps given below to carry out the Arlo camera installation:
- Launch the Arlo Secure app.
- Use the Arlo login details to sign in.
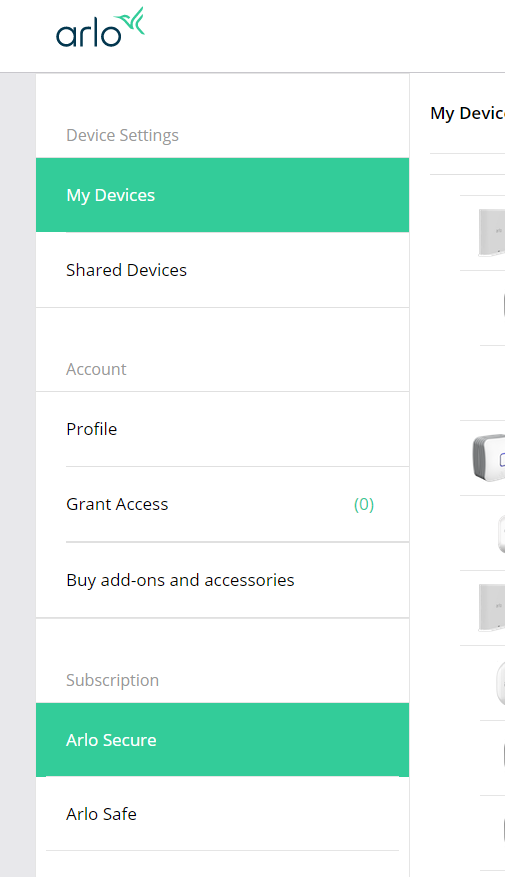
- Tap on Add New Device. The option is available if you scroll down a little on the screen.
- Tap Cameras on Select your Arlo device screen.
- Next, tap on Others on Select your Arlo model screen.
- The Legacy screen opens up. Select Q & Q Plus.
- Now, according to your connection type, tap on WiFi, Ethernet or PoE on the Select your connection type page.
NOTE: In case you have selected aWiFi connection, you should ensure that the camera is within 3 to 6 feet of the WiFi router.
- Plug in the Arlo Q Plus camera and power it up.
- Observe the LED on your camera. As soon as it turns amber, tap Continue on the app.
- Now, type the WiFi SSID and password of your router and tap Continue.
- Find and hold the Sync button on the Arlo camera. Release the button after about 2 seconds.
- When the LED blinks blue, tap on Continue.
- Now, scan the QR code using your camera.
NOTE: Keep the camera at least 8 inches from the phone while scanning the QR code.
- Tap Continue when you hear a chime.
- It will now look for the device.
- Select your camera from the Available Devices list. See that the Serial number matches the number on the camera.
- Assign a name to your Arlo camera and tap Finish once done.
This way you can complete the Arlo Q Plus camera setup using the Arlo Secure app. The process is very easy; however, it so happens that users fail to set up the camera. The most common obstacle is that the camera is not discovered or you do not hear a chime.
Let’s help you learn quick fixes to resolve the problem.
Let’s help you learn quick fixes to resolve the problem.
- Check the WiFi router’s power supply. It should be fully booted up.
- Your phone should be connected to the 2.4 GHz network of the router. Make sure that the router is broadcasting this network band.
- Insert the correct SSID and WiFi password while selecting the WiFi network of the router.
- Bring the camera closer to the router.
- The Arlo camera must be powered on properly.
Can’t Hear Chime? Try This!
- Take off the plastic film from the camera lens before scanning the QR code.
- Clean the camera lens using a soft lint-free cloth.
- Try scanning the code from different angles.
- Increase the brightness of the phone.
- Try moving the camera far and close to the phone while you are scanning.
- The area should be well-lit to scan the QR code properly.
- Reboot the Arlo camera and try to scan the code once again.
- If nothing helps, then reset the Arlo camera and follow the setup process from scratch.
Conclusion
This brings an end to our informative blog post on how to complete the Arlo Q Plus camera setup. We are expecting that by using the instructions discussed in this post, you have installed your Arlo security camera with ease.