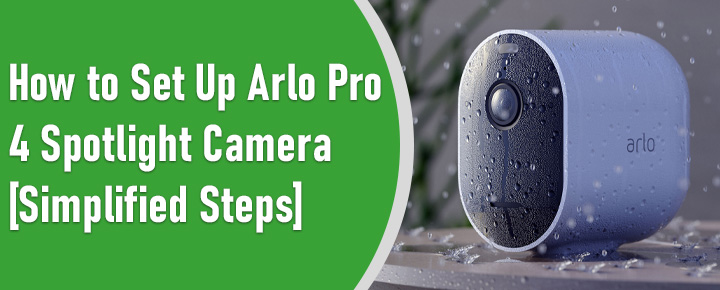
Are you looking for a sentinel for your house who will watch like a hawkover the happenings in and around your house no matter whether you are present there or not? If the answer is yes, you should consider investing your money in an Arlo Pro 4 Spotlight camera. The camera promises to deliver superior quality video in the real time as well as in the recordings. The major benefit you will get with this Arlo Pro 4 XL camera is that the installation of Arlo SmartHub is optional. It means it directly connects to the home WiFi network. To know how, get down to the reading this instant.
How to Set Up Arlo Pro 4 Spotlight Camera?
The dedicated mobile application for Arlo security cameras makes the setup process very easy. The app is known by the name Arlo app. The app can be effortlessly installed from the Google Play Store or Apple App Store. Thus, prior to putting your time in knowing the instructions to set up Arlo Pro 4 security camera, you have to make certain that you have installed the latest stable version of the Arlo mobile application.
Step 1: Connecting Arlo Pro 4 Spotlight Camera to WiFi Network
- Let’s commence the installation of your Pro 4 security camera by connecting mobile phone to the home network.
- Disable the mobile/cellular data before that.
- Make sure that you connect to the 2.4GHz frequency band.
Note: Remember that a majority of security cameras work with the 2.4 GHz frequency and it is necessary that your mobile device connects to the same frequency of the same network to which you want to connect your Arlo Pro 4 XL camera.
- Launch the Arlo Secure app now.
- Scroll down and reach the bottom of the screen.
- Tap the option marked as “Add New Device”.
- The next step is to select the “Cameras” option.
- You need to now hit the option that says “Pro” out of Ultra, Pro, or Essential.
- Select the camera model i.e. Arlo Pro 4 Spotlight camera.
- Choose the “Connect without SmartHub” option.
- Tap Continue.
- Again verify that you have connected your mobile to the 2.4 GHz network of your gateway.
- Come back to the Arlo app and tap the Continue option.
- Now, you have to input the SSID i.e. the network name and WiFi password (2.4 GHz only).
- Hit the Continue button again.
Here completes the Stage 1 of learning how to set up Arlo Pro 4 Spotlight camera. Now, let’s enter the second stage of Arlo camera setup where you will have to perform some operations related to the hardware of the security camera. However, you should not close the Arlo app as you will have to use it simultaneously.
Step 2: Install the Camera
- Pick up your Spotlight camera and insert its battery into the battery compartment.
- Return to the Arlo app and tap Continue.
- You will now see that the LED on the front of your Arlo Pro 4 XL camera is blinking blue.
- Just in case the LED does not blink blue, you are required to tap the option that says so in the Arlo Secure app.
- Locate the Sync button on your security camera now.
- Press this button.
- This time the LED will blink blue.
- Move ahead by selecting Continue option.
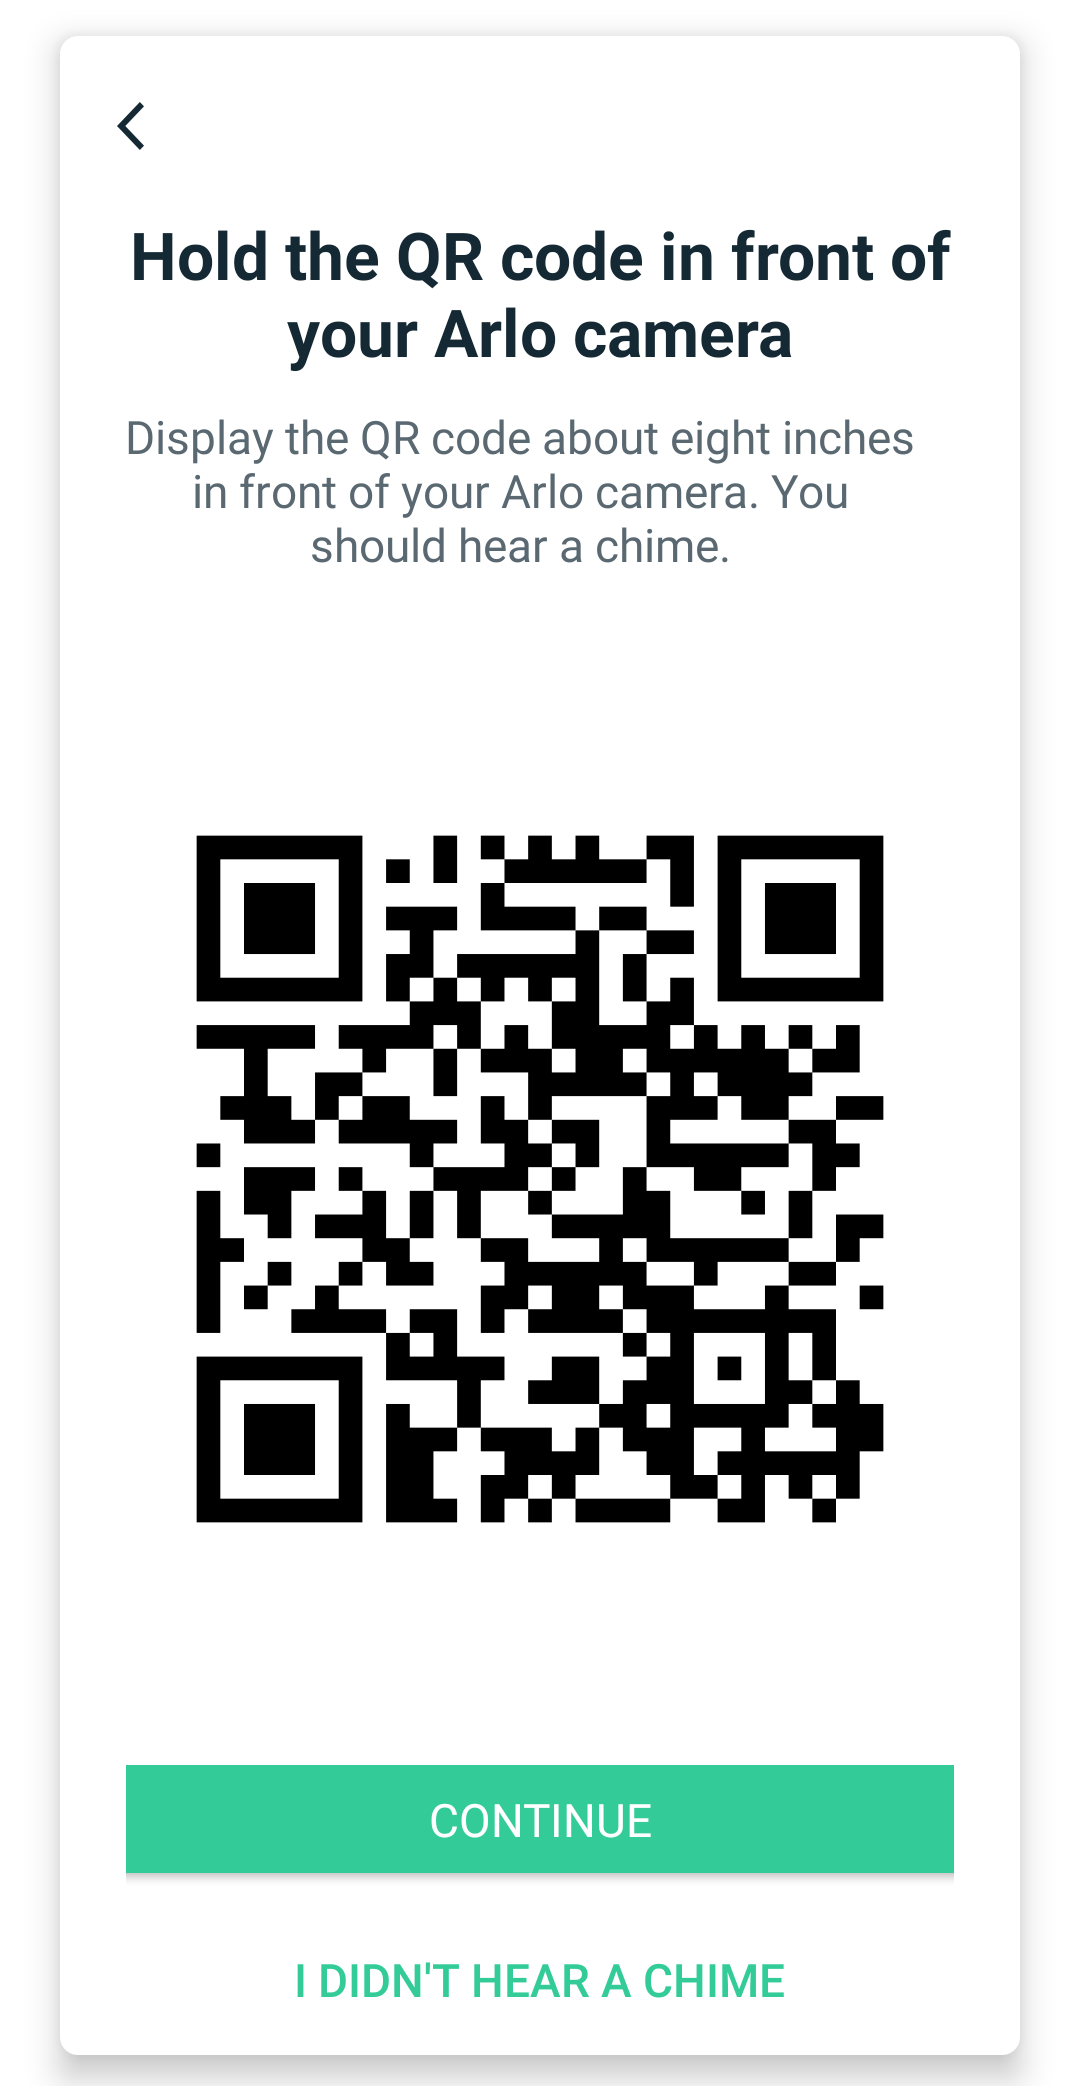
- As soon as the QR code shows up, you are required to hold it at least 4-6 inches in front of your Arlo security camera (Pro 4 XL).
- A chime will be heard now.
- Tap the Continue button again.
- An attempt to detect your Spotlight camera will be made by the application.
You have to be very sure that during the setup process your Arlo Pro 4 Spotlight security camera is present in the 3-6 feet range of your WiFi router or gateway. For effortless connection or setup, do not make the mistake of placing the security camera near any gateway to which you do not want to connect the camera. This might result in signal interference and you will end up failing with the setup process.
- Now, it is time to name your Arlo camera.
- Once the naming thing is done, you can position your camera and tap Continue.
- At last, tap Finish.
- The setup process is completed now.
All in All
We hope that now you have clearly understood how to set up Arlo Pro 4 Spotlight camera with the help of the specially programmed mobile application. It is now anticipated that you have successfully completed the setup process of your Arlo Pro 4 XL camera. Now, you can wall mount your camera at the desired location.
The only condition is that it should be mounted at a location where it receives sound and stable WiFi signals from your host router. You also need to be very sure that your security camera is not aiming through a window or another translucent obstruction. Before wrapping up, we would like to tell you that you can manage your security camera through the my.arlo.com address in addition to the Arlo Secure app.


